

Halfbore or fullbore – no bore for our instruments
Typical applications are full bore measurements, e.g. bearing journals for compressors and in diesel engines.
Schedule a free demo to get a first-hand look at how our solutions support your business.
When measuring straightness with the clock method, you set the laser beam roughly parallel to a centerline. The center position of each bore can be measured by taking readings with the receiver in two points, 180° apart.
Two points can be used as references. The program allows for up to 99 points to be measured.
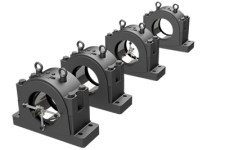
Typical applications are half bore measurements, e.g. compressors and turbines with split casings.
Straightness measurements with the Arc Angle method are made by setting the laser beam roughly parallel to a centerline.
Two points are used as references. The sensor is placed in three to nine positions at each measurement point to find the center of the measurement object. For the Arc Angle measurements, the detector is in a single-axes mode.
The program allows for up to 99 points to be measured.


